Showing posts with label New Release. Show all posts

Friday, August 29, 2025

Swingin’ Through Retirement!

 Happy Friday!

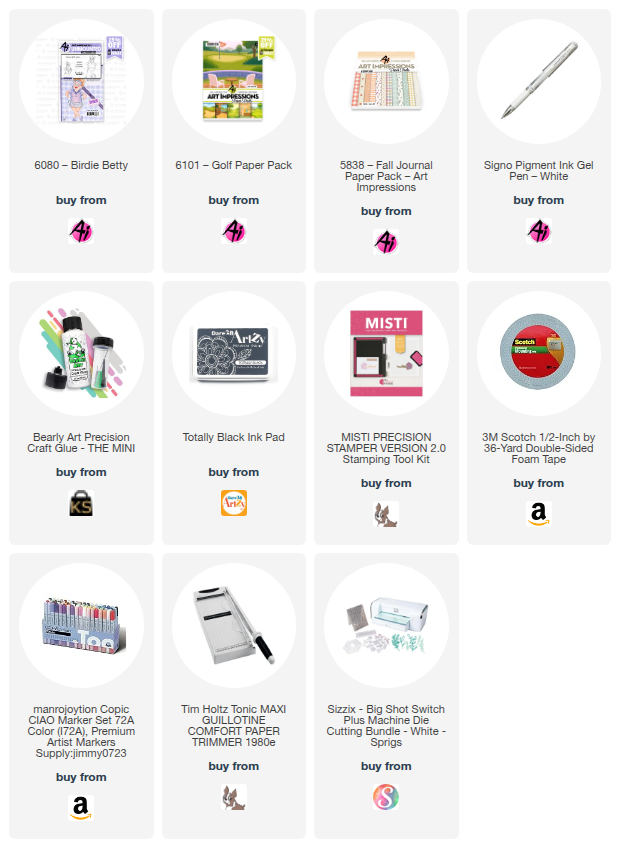
Tasha here sharing a fun golf-themed card created with the new 6080-Birdie Betty Stamp Set and the 6101-Golf Paper Pack from Art Impressions.

I started by stamping Betty and her golf bag with black ink, cutting them out with the included dies, and coloring them up. One of my favorite things about Art Impressions is how cute the outfits always are; I had so much fun giving Betty a purple and white look with pops of pink on her shoes and glasses. Honestly, I’d love to have an outfit like this for a day on the golf course!

To build the card, I layered Betty and her bag over a patterned paper from the Golf Pack; I love the little golf scene design. 

For the sentiment, I stamped “Swingin’ Through Retirement” and die-cut it with a circle, then added a small purple heart to tie in with her outfit. A mix of green, tan, and plaid layers finished everything off with that classic golf vibe.

Hope you enjoyed today's project and are having a wonderful day!


Friday, March 14, 2025

Love Fur-Ever!

 Happy Friday everyone! 

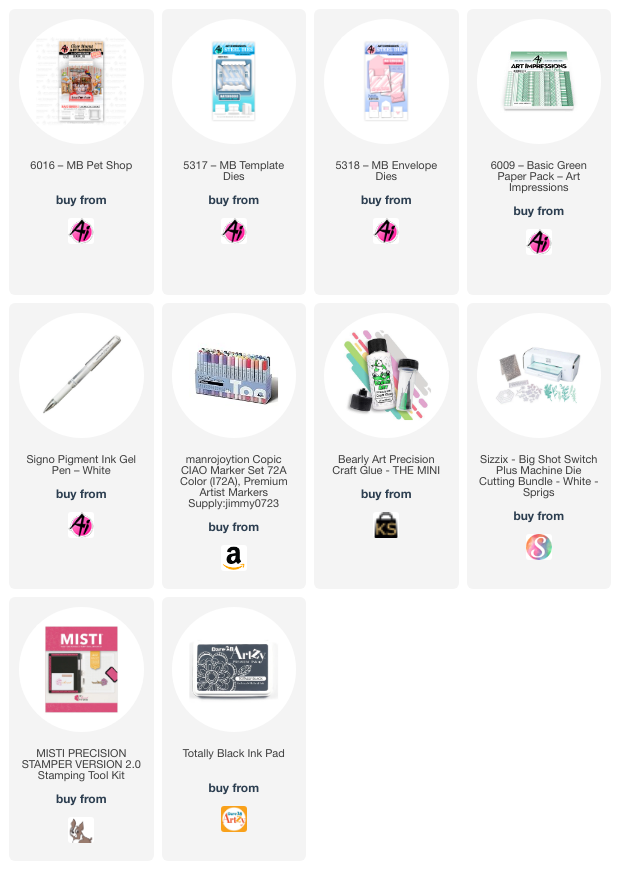
Tasha here sharing a new card created with the super cute 6016-MB Pet Shop Set from Art Impressions. Art Impressions recently released four (4) awesome new MB sets, but this one has to be my favorite! I love animals and the variety of cute animals in this little shop scene is fantastic! 

To create the shop, I used the 5317-MB Template Dies and two different pieces of pattern paper. The plaid walls with the dark wood floor seemed like the perfect decor for a happy little pet shop. I also added two little windows to bring in more detail; the Template Die Set includes two styles of windows, so you can pick the perfect one to customize your little scene.


After all the sweet animals were colored, it was time to assemble. The MB Pet Shop's included dies cut and score the pieces to make it super easy to attach to the base. Every time I complete one of these MB cards I mention how amazed I am that there is so much detail in this tiny design, it really is awesome!


Lastly, I cut the greeting out and attached it to the front of the card. I also created a small envelope in a coordinating patter paper to complete the card set. 


I hope you enjoyed today's project and will take a peek at the new MB sets. If you haven't tried making one of these small cards, give it a try, I'm sure you will love the final result!

Have a great day!


Friday, December 6, 2024

Snowy Greetings - Dare 2B Artzy IG Hop

Hi everyone and welcome back to my Blog!
This weekend Dare 2B Artzy is having a fun Instagram Hop and the design team will all be sharing holiday inspiration projects. My project is a fun gift card holder that features the ice skate from the D2BA Winter Wonderland Stamp Set.


To go with the ice skating/winter theme, I used light blue colors and a piece of snowflake pattern paper. I love how these colors give an icy look to the project! I also attached several white enamel dots to the center of several snowflakes to add in a little more detail to the front.

The inside of the holder has four (4) pockets and I decided to add in to purple pockets for an extra pop of color. You can actual fit at least six (6) pockets in this holder (maybe more), but this was the perfect amount for me. Red and Green pockets would also be fun for a Christmas design or pattern paper would also give a fun look to the inside.


Lastly, I attached the sentiment and a small velcro dot to close the holder. I also add extra glue behind the velcro to make sure it stays in place.

Thank you for checking out today's project and I hope you will check out the Dare 2B Artzy Instagram Hop. (Click Here)


Have a great day!

_______________Gift Card Holder Instructions_______________


Step 1: Cut a piece of card stock to 3" x 11" (Heavy Weight cardstock)


Step 2: Score the base at 8-1/2", 7-3/4", 4", and 3-1/4". 


Step 3: Use bone folder to crease all the score lines.


Note: The shorter section is the top of the holder.


Step 3: Create your pockets (I used four (4) for this project).

Cut a piece of card stock to 6” x 4”


Step 4: Score the card pockets at 3-1/4” and 1/2"


Step 5: Turn the paper and score down at 1/2"


Step 6: Cut each pocket as shown below:


Step 7: Use a bone folder to crease all the score lines.


Step 8: Add liquid adhesive to both tabs to create the pocket.


Step 8: After you assemble the pockets, use a small circle die or punch to cut the same size hole each pocket as shown below. This makes it super easy to pull the pockets.


Step 9: Use liquid adhesive to attach the pockets to each other. 


Start by glueing the first pocket to the inside center of the card base (do not go over the score lines) and stack the remaining pockets on top of each other.


*Reminder: The shorter folded side is the top of the holder.


Optional: For the final pocket, pull up the bottom of the holder and attach it to the top pocket. This will allow the pockets to pull open when you open the holder. 


Step 10: To complete the project, attach a small Velcro dot to keep the holder closed. 


Step 11: Decorate with pattern paper and enjoy! 


Tuesday, October 15, 2024

Fall Blessings!

Hello friends and welcome back to my blog. Today I'm sharing a Fall card featuring the Bushel of Happiness Stamp Set from Dare 2B Artzy. 


To create this card, I started by stamping the ladder and basket of apples and used the coordinating die set to cut them out. I really like using the die set for this ladder image since it cuts the openings perfectly allowing the background to show.


Before attaching the main stamped pieces to the center card, I used the D2BA Clouds & Raindrops Stencil to make the ground and sky. The dark green and deep golden colors add to the Fall vibe and I love the puffy yellow clouds!

Lastly, I stamped "Wishing You a Bushel of Fall Blessings" and again used the coordinating dies to cut the words out. I love the "Fall Blessings" font and the orange color goes with the colors used throughout the card. I also added layers of orange and brown card stock and a piece of D2BA plaid pattern paper to complete the design. 

I hope you enjoyed today's project and are having a wonderful day!
Supplies Used:


Tuesday, October 1, 2024

Pawfect Halloween Card!

Hi everyone and welcome back to my blog!
Today I'm sharing a Halloween card created with the Trick or Treat Stamp Set from Dare 2B Artzy. I love animal stamps and the trick or treating pets included in this set are just too cute!
For my card, I stamped one of the little doggies and the treat bucket. After coloring the images I used the coordinating die set to cut the images out. I like that this die set cuts around the "Happy Halloween!" greeting making it really easy to layer it on projects.


Before layering on the images, I used Distress Oxide Ink to add color to the sky. For the ground I cut a piece of D2BA pattern paper that had a Fall leaf print. This is great way to use small scraps and this print adds to the Fall scene perfectly!

Lastly, I added layers of black and orange card stock, and a piece of D2BA plaid pattern paper to bring in more Halloween colors. I also used the banner die to add more color behind the embossed greeting, I love the bright white lettering!

Thank you for checking out today's project and I hope you are inspired to create a fun pet-themed Halloween card. Be sure to check out the Dare 2B Artzy Shop for more details!

Have a wonderful day!


Tuesday, September 17, 2024

Cozy Holidays!

Hi Friends and welcome back to my blog!
Sharing a holiday card today created with the new Cozy Holidays Stamp Set from Dare 2B Artzy. Since the holiday season will be here before we know it, I thought it would be a good time to jump start holiday card making. I love snow globes and thought this image would be perfect for a holiday project!
To create the fun fold card base, I used the Horizontal Center Step Die set. This die cuts and scores the card stock to an A2 sized card; perfect for mailing!

The snow globe was stamped with D2BA Totally Black Ink and I used the coordinating die set to cut the image out. I also used the same black ink on part of the greeting. The "Peace & Love" greeting was stamped with D2BA Pomegranate Ink and cut out using a die. I like that the die set includes dies to cut around the sentiments/greetings. 

Lastly, I added layers of green plaid paper from the D2BA Winter Escape Collection Variety Pack. I love the traditional Red & Green colors and the pop of gold glitter!

Thank you for checking out today's project and I hope you enjoyed this holiday card!

Check out the Dare 2B Artzy Shop for more product details!

Have a wonderful day!

Tasha


Tuesday, September 3, 2024

Frappe Birthday!

Happy Tuesday Friends!
Sharing a card created with the exclusive Art Impressions and Simon Says Stamp STAMPtember® 2024 Collaboration Set! This set has a fun coffee & donut themed design and I just love Art Impression people stamps!
For my project I stamped the two friends and colored them with markers. I used polka-dot pattern paper for the leggings and love the look! The brick background was created with a brick stencil and two shades of Distress Oxide Ink and I used dark gray markers for the ground. I wanted it to look like they were outside of a coffee or donut shop chatting with their treats.


For the sentiment, I embossed "Frappe Birthday" on to black paper and attached a piece of silver glitter paper before adhering it to the card with foam tape. The white lettering pops against the black paper and looks great with the brick design behind it!


Lastly, I added layers of silver glitter paper, black card stock, and a pretty pink pattern paper to complete the design. This new stamp set was so much fun to create with and will be awesome for year-round projects. 

Be sure to check out Simon Says Stamp for more details on this exclusive set, but don't delay because once they sell out, they will no longer be available to purchase. 

Have a wonderful day!


Make A Wish!

Good morning and welcome back to my blog. 
Today I'm sharing a new card created with items from Dare 2B Artzy and I'm so excited to give you a peek at the new Campfire Friends Set!
To make this card I stamped the cute chipmunk and fire image with Totally Black Ink and colored them with Copic Markers. After coloring, I used the coordinating die set to cut both images out before layering them on the card with foam tape. 


For the background, I used the D2BA Curve Slimline Border Dies to create the ground. After adhering the ground to the blue sky background, I used the D2BA Rectangle Framelits Die Set to cut the center card. I used the same Frame set to cut the gold glitter paper layer and the plaid pattern paper. The double-dot design gives the edges a nice finished look.

Lastly, I added layers of black, teal, and orange card stock before attaching the card to a white card base. The orange and blue colors coordinate perfect with the plaid paper and gives the card a fun Fall look. I also embossed the greeting on to black paper and attached it to the card with foam tape to complete the design.

Thank you for checking out today's project and I hope you enjoyed this card.

Have a wonderful day!
Tasha 

Supplies Used: Check out the Dare 2B Artzy Shop. 
Dare 2B Artzy (Shop Link)
  • D2BA - Campfire Friends Stamp Set
  • D2BA - Campfire Friends 
  • D2BA - Rectangle Framelits Die Set
  • D2BA - Curve Slimline Border Dies
  • D2BA - 6x6 Pack - Fall Harvest
  • D2BA - Totally Black Ink


Friday, August 2, 2024

Trick or Treat!

 Hi fiends!

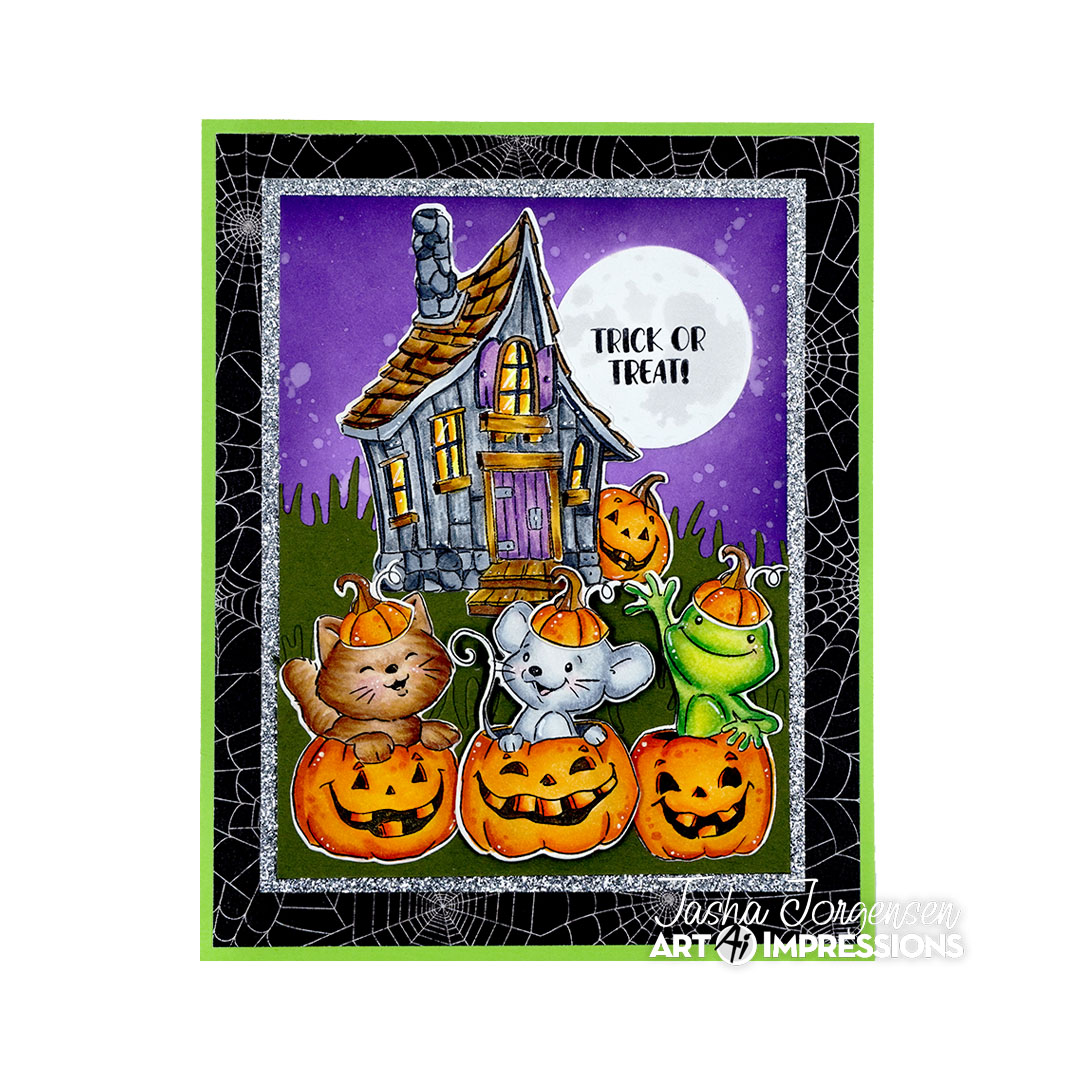
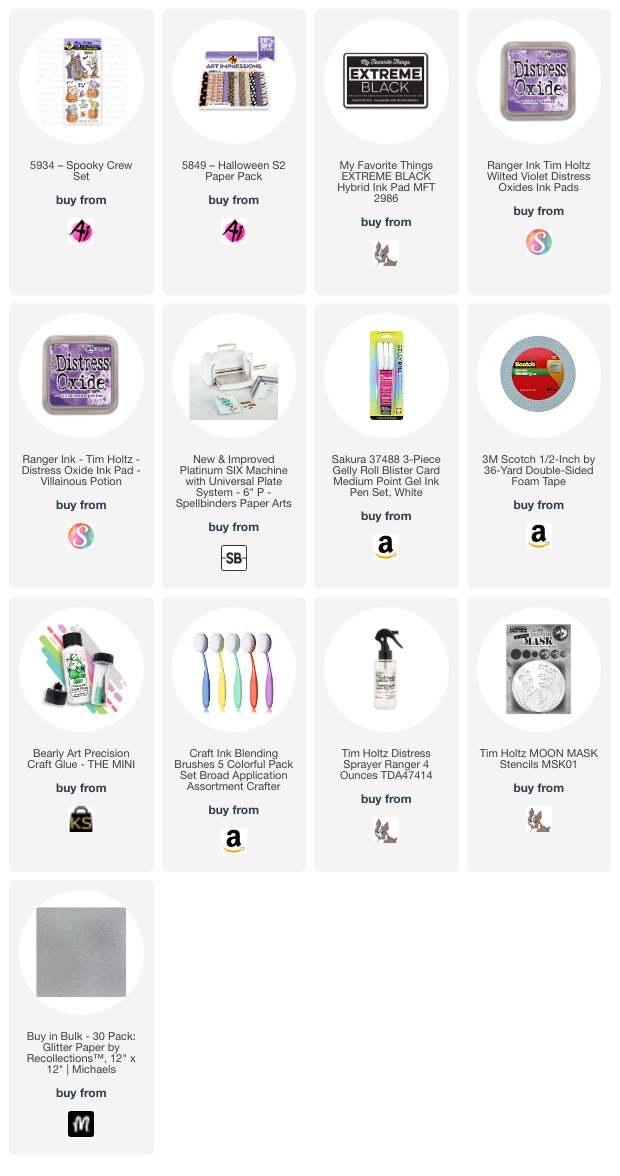
Tasha here sharing a new Halloween card created with the fun new 5934 - Spooky Crew Set from Art Impressions. This new set has four super cute characters and a cool haunted house stamp that is perfect for a not-so-spooky scene!

I started the card by stamping three characters, little pumpkin hats, and the haunted house image. I used the included dies to cut the images out and colored them all with Copic Markers. After coloring I attached the characters with liquid glue and added foam tape behind the mouse to raise him up. These friends look like they are totally ready for some Trick or Treating!

The background was created with two shades of purple Distress Oxide Ink and I splattered water on top; I love the water spots! For the ground, I layered two pieces of die cut grass in a deep olive shade. I thought this shade of green looked nice with the purple sky and was dark enough to go with the Halloween scene.

The greeting "Trick or Treat!" was stamped with black ink on to white paper with a stenciled moon detail. I also attached the haunted house with liquid glue to the background and I tried to give the house a spooky look with cool gray colors. 

Lastly, I added silver glitter paper for sparkle, a spiderweb pattern paper, and a bright lime green paper to complete the card. This card was so much fun to make and I cannot wait to make more Halloween projects with the new set.

Have a wonderful day!


Friday, July 26, 2024

Sending Panda Hugs!

Happy Friday and welcome back to my Blog!

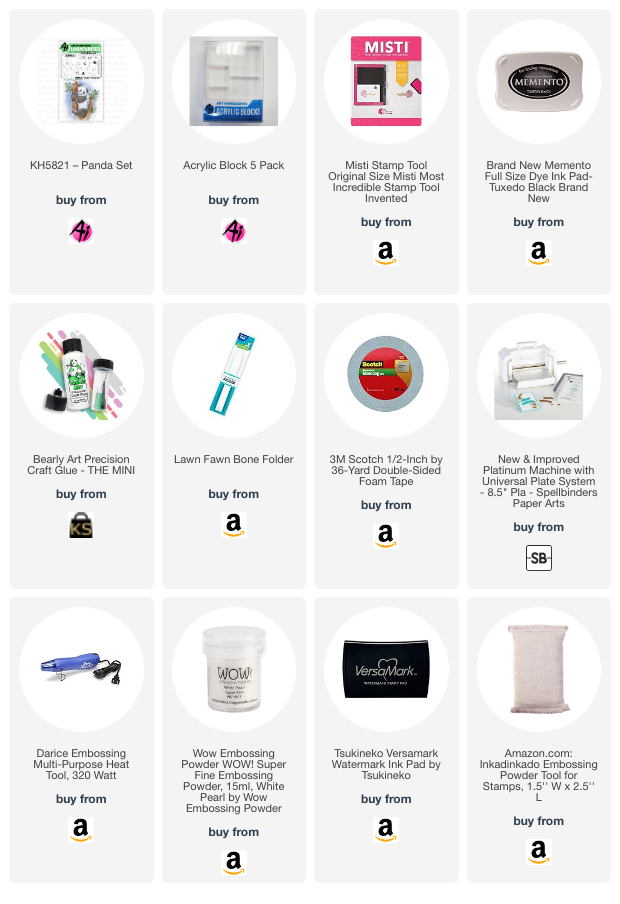
Tasha here sharing a panda themed card created with the new 5821 KH-Panda Set from Art Impressions. I enjoy coloring animals and this stamp set includes three different pandas to customize your project. This card uses the largest of the three and one of the panda-themed greetings.

I started by stamping the Panda and coloring him with Copic Markers. I wasn't sure what I was going to do with the background, but wanted to try something different? I decided to add tons of bamboo and drew in extra leaves to create the outdoor scene. For the bamboo, I used several shades of green markers and kept the centers light to give the glowing look. I love this look!

To coordinate with all the lime green, I colored the open areas of the background with a deep pink color. I think pink & green may be one of my all-time favorite color combinations and the pink also looks awesome with the black & white panda!

Lastly, I embossed "Bear Hugs" on to black card stock and used a circle die to cut the greeting out. For a frame, I layered a silver glitter circle which gave a pretty sparkle to the center of the card. I also added deep pink, black, and silver glitter paper layers to complete the design. 

I hope you enjoyed today's card and are having a wonderful day!