Sunday, July 2, 2023
Kat Scrappiness Fourth of July Sale Announcement and Card Inspiration!
Friday, May 5, 2023
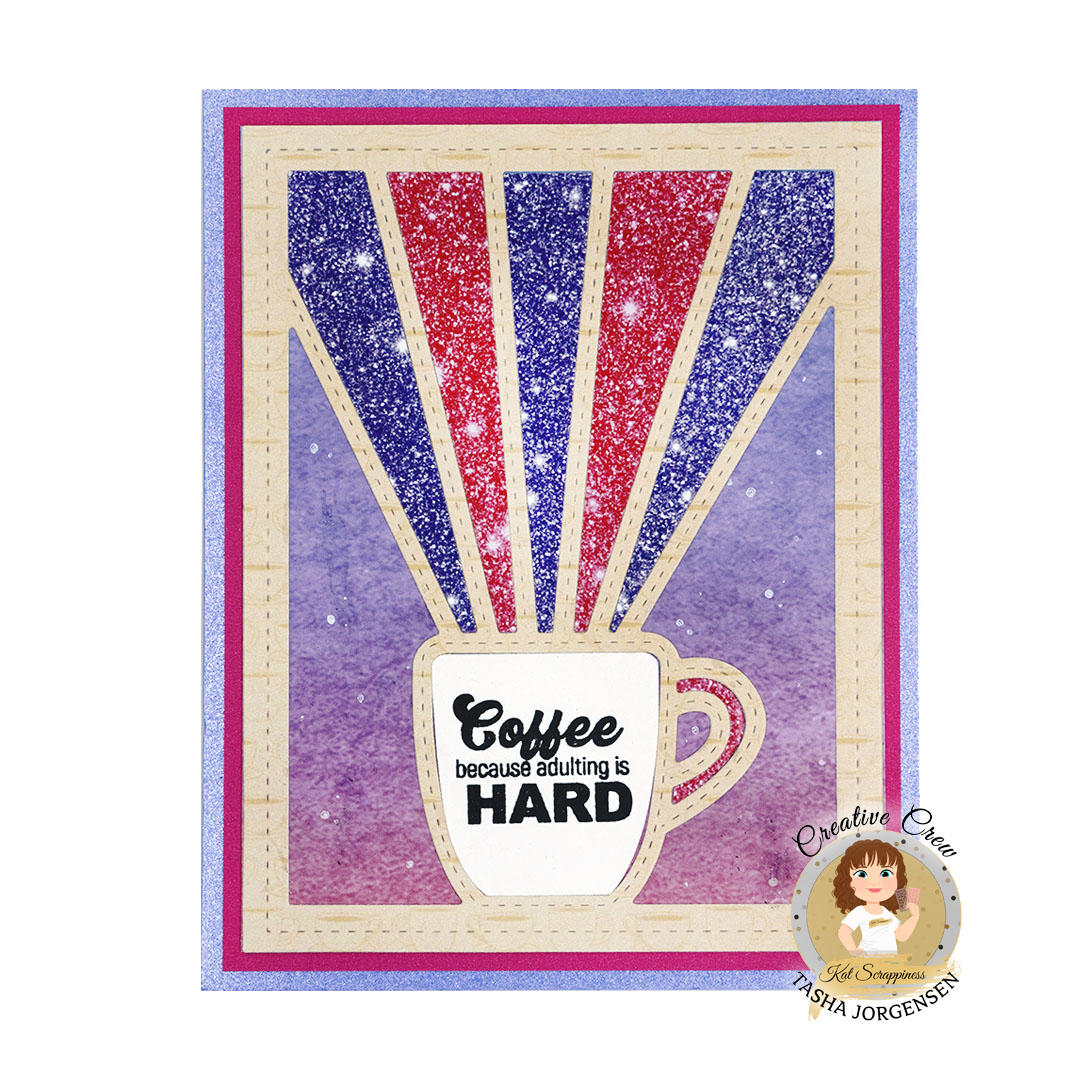
Spring Summer 2023 Coffee Hop | Adulting is Hard Card Featuring Kat Scrappiness Stamps and Dies!
Friday, March 10, 2023
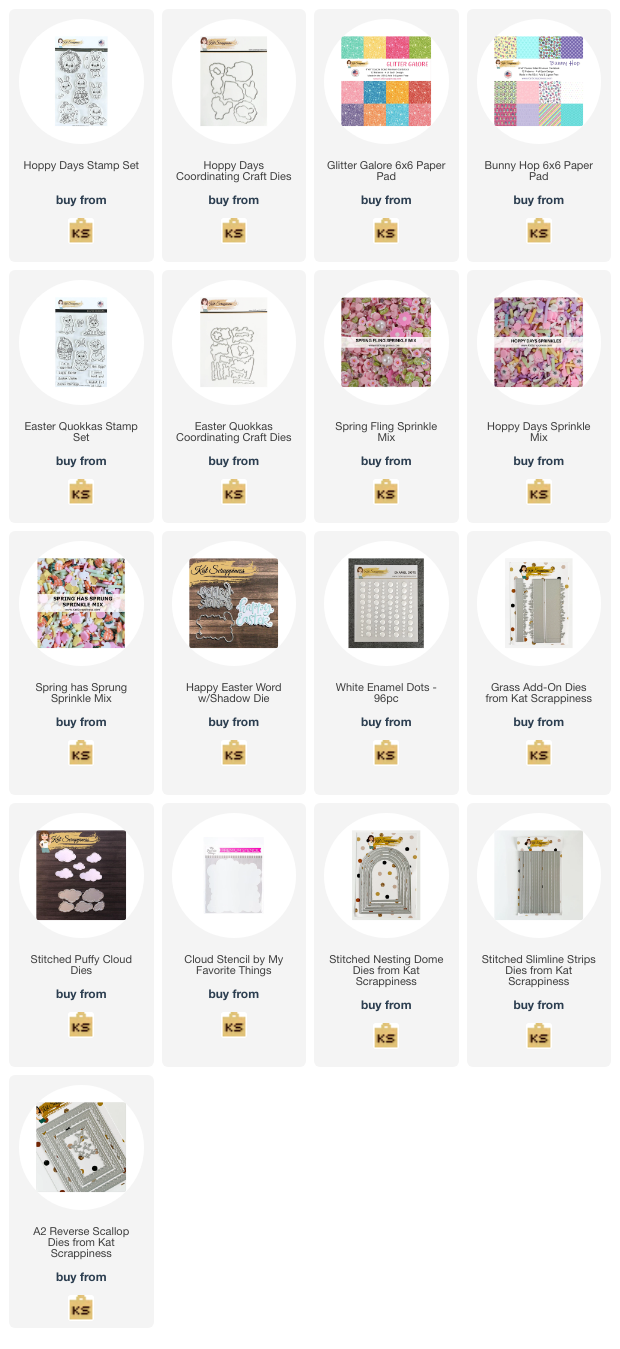
Kat Scrappiness Easter / Spring Release!
Thursday, September 22, 2022
Dress Up Quokka Happy Halloween Card Featuring Kat Scrappiness Stamps!
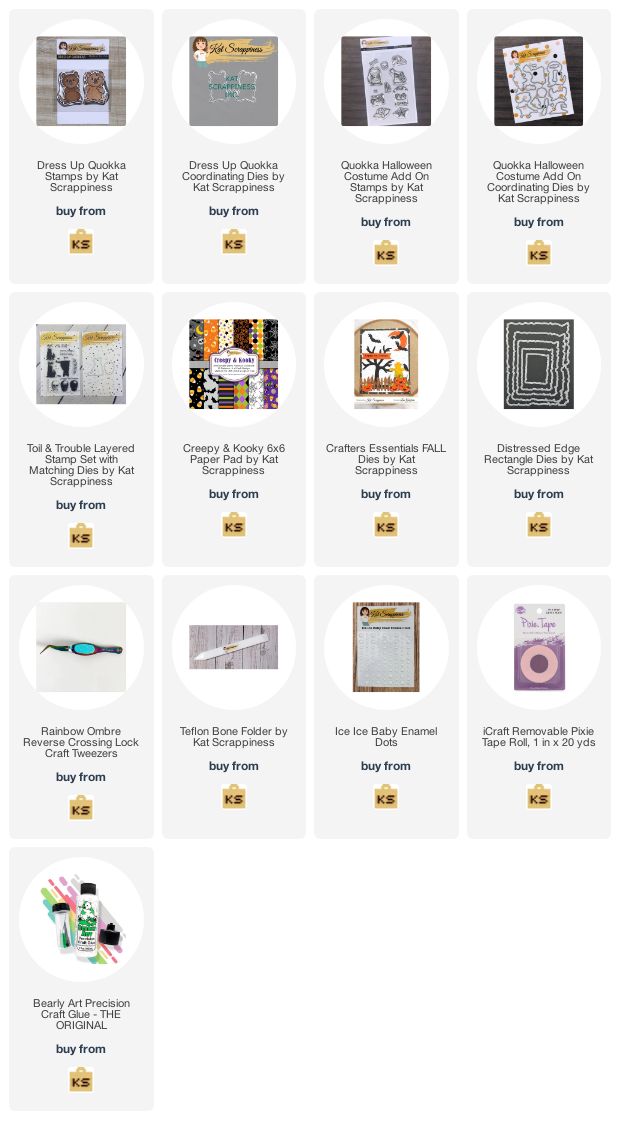
Hi everyone! Tasha here sharing a Happy Halloween card featuring the Dress Up Quokka Stamp Set and Quokka Halloween Costume Add On Stamp Set!
I love Halloween and nothing is cuter than a quokka dressed up in a little costume! I stamped the quokka, his vampire outfit, and the super adorable bat with black ink and used the coordinating die sets to cut all the images out. This bat looks so happy!
For the moon, I used a die from the Crafters Essentials FALL Die Set and Post It paper to create a mask.I went over the moon and background with purple Distress Oxide Ink, blending from the edge toward the center to create a glowing look.
The Happy Halloween greeting is from the Toil & Trouble Layered Stamp Set. This simple sentiment fit perfectly on this card and looks great with the orange paper!
Check out my full tutorial video on the Kat Scrappiness YouTube Channel!
Lastly, I added spiderweb pattern paper from the new Creepy & Kooky Paper Pad, orange paper, and bright lime green paper before attaching the card to a white card Base.
Thank you for checking out today's card and I hope you are inspired to create a Halloween Quokka Card! -Tasha
Wednesday, September 7, 2022
Not-So-Spooky Halloween Card Featuring Kat Scrappiness Stamps!
Good morning Friends!
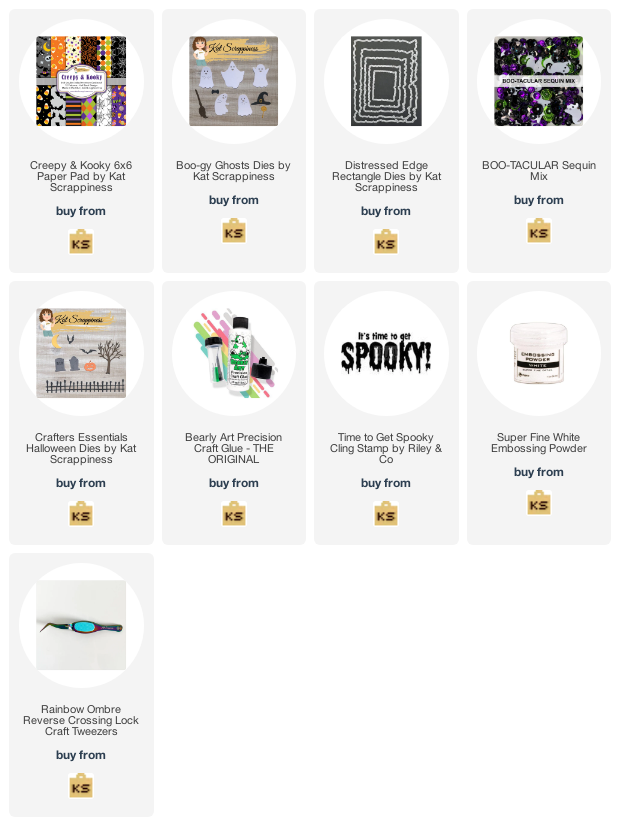
Tasha here sharing a Not-So-Spooky Halloween card featuring the new Boo-Gy Ghosts Dies and Creepy & Kooky Paper Pad from Kat Scrappiness!
The background was created with a cloud stencil and Distress Oxide Ink. I used a piece of scrap paper to mask off a section for the ground, I love this green and gray color combination! I also added a fence from the Crafters Essentials Halloween Die Set to add to the Halloween look.
See the full card making tutorial on the Kat Scrappiness YouTube Channel!
The sentiment "It's time to get Spooky!" was embossed in white and I added orange paper to bring in more color.
The little ghosts are from the new Kat Scrappiness Boo-Gy Ghosts Dies. These little ghosts are so cute and I love the extra accessories!
Lastly, I added a piece of spider web pattern paper from the new Creepy & Kooky Paper Pad and added another layer of orange paper before attaching the card to a white card base.
The completed card measures 5" x 6-1/4"
Thank you for checking out today's card and I hope you are inspired to create a Not-So-Spooky Halloween card!
-Tasha
Monday, August 22, 2022
Fancy Fold Card Tutorial Featuring Kat Scrappiness Stamps!
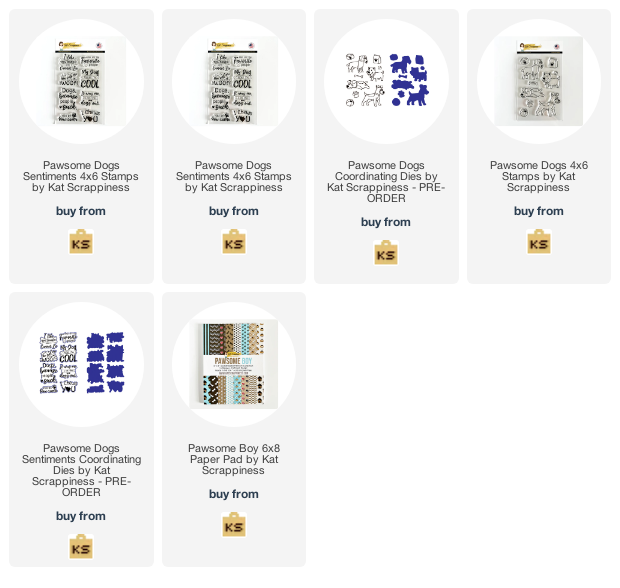
Happy Monday! Tasha here sharing a fancy fold card tutorial featuring the new Kat Scrappiness Pawsome Dogs Stamp Set!
This card is so easy to make and it's a great fold to show-off pattern paper. I used two sheets from the new Pawsome Boy Paper Pad. I love the little dog houses!
See my full tutorial on the Kat Scrappiness YouTube Channel!
For the main image, I stamped one of the dogs from the Pawsome Dogs Stamp Set and colored him with Copic Markers. I also used Distress Oxide Ink for create a simple sky and grass background and added three little bones. The cute bones are from the Dog Bones Sprinkles Pack.
For the sentiment, I used the Pawsome Dogs Sentiment Stamp Set and colored the edges with green & blue to coordinate with the front panel. I love these colors together!
Lastly, I added silver glitter layers to each panel for extra glitter to complete the project!
Thank you for checking out today's card and I hope you are having a great day! -Tasha Measurements Base: 5-1/4" x 11" Score: 1-3/4", 3-1/2", 5-1/4" and 7" Small Base: 3" x 6" Score: 3" Back Panel: 3-7/8" x 5-1/4" x4 - Panels (Pattern): 1-1/2" x 5" x4 Panels (Glitter): 1-5/8" x 5-1/8" Front Square: Layer 1 (Glitter): 3" x 3" Layer 2 (White): 2-3/4" x 2-3/4" Back Square: Layer 1 (Glitter): 3" x 3" Layer 2 (Pattern): 2-3/4" x 2-3/4" Layer 3 (White): 2-1/2" x 2-1/2"
Supplies Used: Pawsome Boy 6x8 Paper Pad by Kat Scrappiness: https://shrsl.com/3npdf Pawsome Dogs Sentiments 4x6 Stamps: https://shrsl.com/3npbu Pawsome Dogs Coordinating Dies - PRE-ORDER: https://shrsl.com/3npbv Pawsome Dogs Sentiments 4x6 Stamps: https://shrsl.com/3npbw Dog Bones Sprinkles: https://shrsl.com/3o1tdSaturday, August 20, 2022
Kat Scrappiness Pawsome Dog Release and Instagram Hop!
Sunday, August 7, 2022
Summer Quokka Card Tutorial Featuring Kat Scrappiness Stamps!
Good morning Kat Scrappiness Friends!
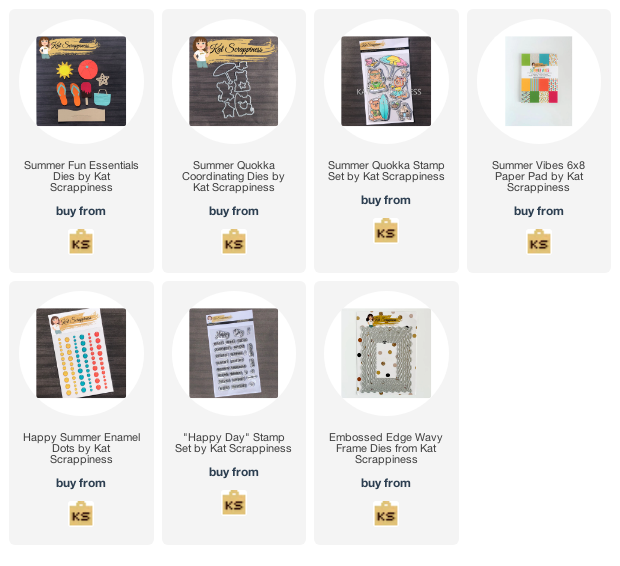
Tasha here sharing a Summer card tutorial featuring the super cute Summer Quokka Stamp and Die Sets!
The cool surfer quokka was stamped with black hybrid ink and colored with Copic Markers. I used the coordinating die set to cut of the image and the little pal and shovel set; so cute!
For the background I used a cloud stencil and created my own wave stencil using the Embossed Edge Wavy Frame Dies.I also used the Layered Sun and Stitched Wave Die to create a beach scene
See my full tutorial for more details!
Lastly, I added layers of bright paper from the Summer Vibes Paper Pad and attached several Kat Scrappiness Enamel Dots to the sky. I also stamped the word "Hello" in a tan ink color on the sand to complete this Summer card.
Thank you for checking out today's project and I hope you are having a great weekend!
-Tasha
Friday, July 22, 2022
Sanitizer Gift Holder Tutorial Featuring Kat Scrappiness Stamps!
Happy Friday!
Tasha here sharing an easy Christmas in July hand sanitizer holder featuring the Dress Up Quokka Stamp Set from Kat Scrappiness!
The little quokka images were stamped with black ink and colored with Copic Markers. I used the coordinating die set to easily cut out the quokkas and their little sweaters. I love the polar bear sweater!
Check out my full tutorial on the Kat Scrappiness YouTube Channel!
To continue with the Christmas theme, I used the fun Ugly Sweater Slimline Paper Pad to create a festive background. This paper collection has a variety of patterns that are perfect for holiday projects!
Lastly, I added a little hand sanitizer before closing the gift holder with twine. These are so much fun to make and make awesome gifts or stocking stuffers!
I hope you enjoyed today's project!
-Tasha
Gift Holder Base (Red): 2" x 9"Thursday, July 7, 2022
Get Well Card Tutorial Featuring Kat Scrappiness Oopsie Daisy Layering Stencil!
Good morning friends!
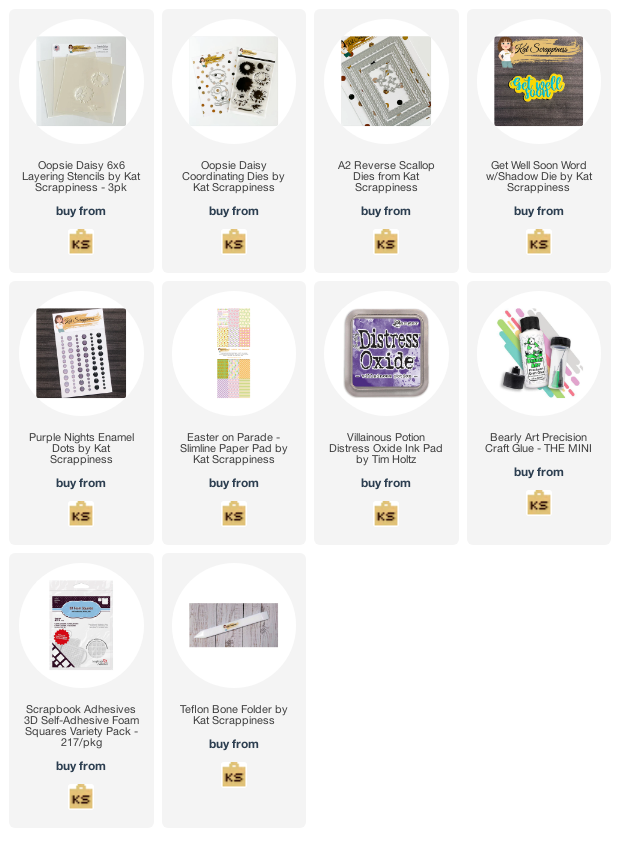
Tasha here sharing a Get Well card tutorial featuring the Kat Scrappiness Oopsie Daisy Layering Stencil Set.
This layered stencil creates the most beautiful flowers and I love the way they look with bold colors! I also used the Oopsie Daisy Coordinating Die Set to cut all the images out. This die set works with the stencil and the Oopsie Daisy Stamp Set.
See my full tutorial on the Kat Scrappiness YouTube Channel!
For the greeting, I used the Get Well Soon Word W/Shadow Die. The words are all one piece making it easy to position on the shadow. I also used a purple glitter paper for the bottom layer to bring in tons of sparkle!
Lastly, I added a piece of purple check paper from the Easter On Parade - Slimline Paper Pad and several enamel dots to complete the design.
Thank you for checking out today's project and I hope you enjoyed a peek at the Oopsie Daisy Layering Stencil Set.
-Tasha
Wednesday, June 22, 2022
Summer Quokka Card and Tutorial Featuring Kat Scrappiness Stamps!
Good morning everyone!
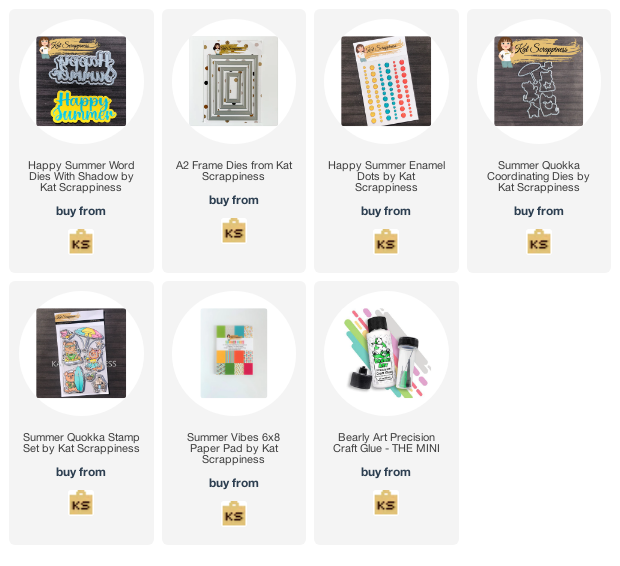
Tasha here sharing a Summer card and tutorial featuring the new Kat Scrappiness Summer Quokka Stamp Set!
The sweet little quokka was stamped with black ink and colored with markers. I used the coordinating die set to easily cut the image out and attached him to the card with foam squares. He looks like he is having a great beach day!
For the background, I ink blended a simple beach scene and added several enamel dots. I also used the new Happy Summer Word Dies with Shadow for the greeting; the bright yellow is so pretty!
See my full tutorial on the Kat Scrappiness YouTube Channel!
To add more color to the card, I used the A2 Frame Die Set to cut x2 blue frames. In addition, I added a piece of pattern paper from the Summer Vibes Paper Pad, this paper collection is awesome!
Thank you for checking out today's project!
Tasha
Tuesday, June 7, 2022
We Stand United Card Featuring the Kat Scrappiness #UkraineStong Bundle!
Hello Friends!
Tasha here sharing a card created with the Kat Scrappiness #UkraineStong Bundle!
To begin, I stamped three sunflowers using the layering stamps. This sunflower is so pretty and it's easy to make several at the same time using a stamping tool!
See the full card making tutorial on the Kat Scrappiness YouTube Channel!
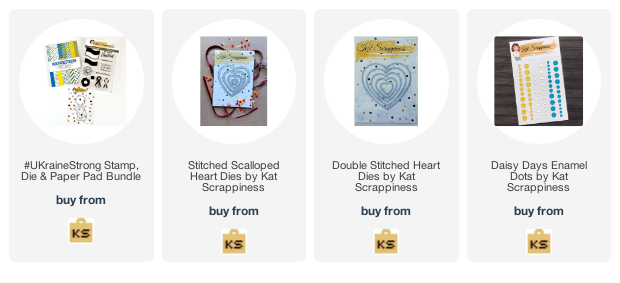
Next, I cut a scalloped heart out of glitter paper and a white double-stitched heart. Kat Scrappiness offers several different heart die sets, so you can mix and match to customize your projects.
The greeting "We Stand United" was stamped with the same ink color I used on the sunflowers. I love the bright yellow color against the white paper!
Lastly, I added a piece of the #UkraineStrong pattern paper and several yellow enamel dots before attaching the card to a white card base.
Here is another card example created using this bundle.
Thank you for checking out today's project!
-Tasha