Hi everyone!
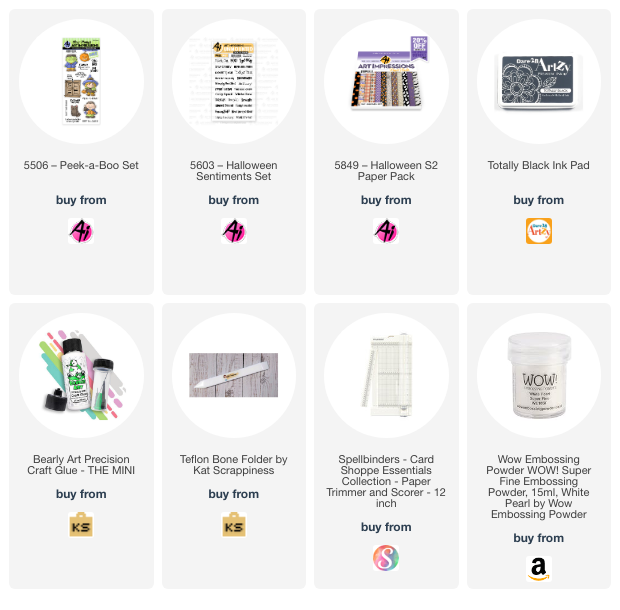
Tasha here sharing a Halloween Triple Cube Card featuring the Art Impressions 5506 - Peek-a-Boo Set and new 5849 - Halloween S2 Paper Pack. I LOVE creating Halloween projects and this interactive card is super easy to make and so much fun to decorate!
The Base:
Step 1: Cut a piece of card stock to 8″ x 8-1/4″
Step 2: With the 8-1/4″ side along the top, score at 2″, 4″, 6″ and 8″
Step 3: With the 8” side along the top, cut a strip at 2″
Step 4: With the 8” side along the top, cut a second strip at 2″
*You will end up with two (2) pieces that measure 2″ x 8-1/4″ and a piece that measures 4″ x 8-1/4″
The Squares:
Step 5: Cut six (6) squares that measure 1-3/4″ x 1-3/4″ (Color 1 - Word Pattern Paper)
Step 6: Cut six (6) squares that measure just slightly under 2″ x 2″ (Color 2 - Orange)
Step 7: Glue Color 1 and Color 2 squares together.
Step 8: Cut six (6) squares that measure just slightly under 2″ x 2″ (Color 3 - Bat Paper)
Step 9: Cut two (2) squares that measure just slightly under 2″ x 2″ (Color 4 - Star Paper)
Step 10: Cut two (2) pieces of paper for the back at 1-3/4″ x 3-3/4" (Any Color/Optional Step)
Step 11: Use a bone folder to reinforce the score lines.
Step 12: Add the matted squares to the 2″ strips on to the 2nd and 3rd square on the opposite side of where the 8″ score line flap folds in. (Color 1 and 2)
Step 13: Add the second color of paper to the 1st and 4th area on the backside. (Color 3)
Step 14: Add Glue to the 1/4″ tabs and to attach the two ends on both strips.
Step 15: Attach the last two squares of (Color 3) to the inside of the large base.
Step 16: Add Glue to the 1/4″ tabs and to attach the two ends on the large base to form a cube.
Step 17: Add glue to one blank side of each strip and attach them to the large base.
Step 18: Attach the last four (4) matted squares to the top and Bottom of the two strips.
Step 19: Attach the two (Color 4) squares to the base as shown below.
Step 20: Attach the sentiment to the inside of the cube as shown below. I folded two little pieces of paper (the same way I attached the characters) and glued one to each side of the center fold line.
Step 21: Enjoy your project! :)










No comments:
Post a Comment