Showing posts with label May. Show all posts

Friday, May 29, 2026

Stay Fabulous!

 Happy Friday!

Tasha here sharing a Summer card featuring the fun 5928-Stay Hydrated Set from Art Impressions. Every time I use this stamp set this lady reminds me of myself and the large tumblers that I tote around. I do not have a leopard print one, but would totally get this colorful design!

For the card, I stamped the lady and used the included die to cut the image out. After, I used Copic Markers for the coloring and added details with a black liner pen and white gel pen. Coloring clothing is one of my favorite things to do and this outfit looks perfect for enjoying a warm day outside. I also love her cool, sunglasses!


Lastly, I created a simple background and cut the center card and frame layer with wavy rectangle dies. I thought this creative border would go with the Summer vibe. I also added layers of cream and orange card stock and a piece of Art Impressions pattern paper to bring in more color and interest. This print is so fun and the color worked great with the shades used on the center card.

I hope you enjoyed this project and are having a wonderful day!


Friday, May 22, 2026

Serving Sass and Smashes!

 Happy Friday  Friends!

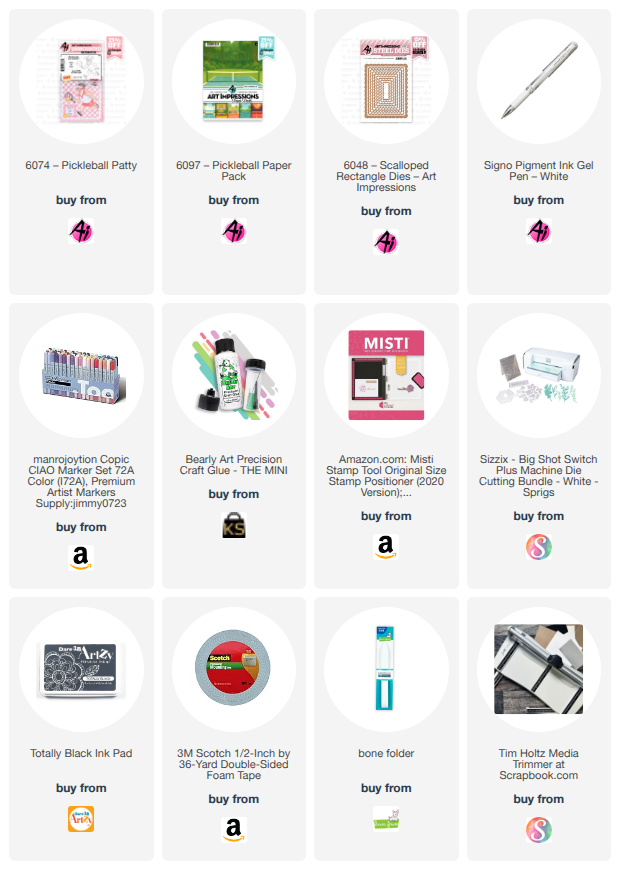
Tasha here sharing a pickleball card created with the fun 6074-Pickleball Patty Set and 6097-Pickleball Paper Pack from Art Impressions. I recently got this set and think it's just perfect for all my pickleball playing friends. Patty looks like she is living her best life on the court and I love her outfit!

This card was also inspired by the current challenge. The challenge is all about the color Yellow, so I used the color on Patty's outfit and on the bottom card stock layer. I love the pink & yellow color combination with the blue plaid paper!
Lastly, I stamped "Serving Sass and Smashes!" on to a coordinating scalloped frame. I also used a large scalloped frame to cut the center card. I think scalloped edges give a nice polished look to cards and like that this set includes a variety of sizes. 

Thank you for checking out today's project and I hope you are having a wonderful day!


Friday, May 15, 2026

Seek Wisdom!

Happy Friday  friends!

Tasha here sharing a card created with the new 6203-Wisdom Set 1 and 6204-Wisdom Set 2 from Art Impressions. These sets are perfect for so many different projects, and the images can be used on their own or combined for completely different looks.


As soon as I looked through the stamps in Wisdom Set 1, I was drawn to the owl and jewels and knew I wanted to create something featuring both images. To make this scene, I stamped the owl first and covered him with masking paper before stamping the jewels. I also masked the jewels before stamping the large banner so it would sit nicely in the background. Masking paper is definitely one of my favorite crafting tools!


I usually reach for bright colors with lots of pink and white, but this time I wanted to try something a little different. I used shades of brown inspired by the owl and blended Distress Oxide inks around the center panel to give the card a soft vintage feel. For a little extra detail, I added a piece of Art Impressions patterned paper that worked perfectly with the colors and overall theme of the card.

To finish everything off, I stamped two sentiments from Wisdom Set 2. The longer sentiment fit beautifully across the banner, and the larger “Seek Wisdom” greeting was layered with the same tan and brown cardstock used throughout the design.

I hope you enjoyed today’s project and are having a wonderful start to your weekend!


Friday, May 8, 2026

Many Thanks Friend!

 Happy Friday Friends!

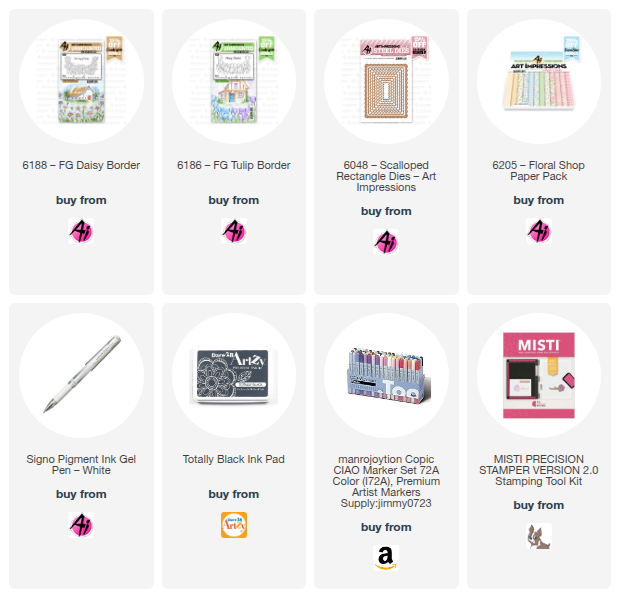
Tasha here sharing a bright Spring card created with the new 6188-FG Daisy Border Stamp Set from Art Impressions . Now that we are in the month of May, this stamp set is getting me excited for the pretty flowers to start popping up. I have a variety of flowers, one flowering tree, and a lilac bush at my house and just love when everything is in full bloom. 

To make this card, I stamped the floral image and colored the flowers with Copic Markers. I was going to have white petals, but wanted more color and love the pop of blue. To embellish, I used a white gel pen to add little accents and ink blended around the border with orange Distress Oxide ink. I also used foam tape to raise the center card up; I think the foam makes the inked edges really stand out nicely.

For the greeting, I stamped "Many Thanks" from the 6186-FG Tulip Border Set and matted it with gold glitter paper. To add more detail, I used the 6048-Scalloped Rectangle Dies; the two smallest dies created this layered look.

Lastly, I attached pretty yellow floral pattern paper, and orange, white, and pink cardstock. I wanted to coordinate with the colors used on the flowers and keep the colors light and bright to complete the design.

Thank you so much for checking out my card and I hope you are having a wonderful day!


Friday, May 1, 2026

Plant Memories Card!

 Happy Friday friends!

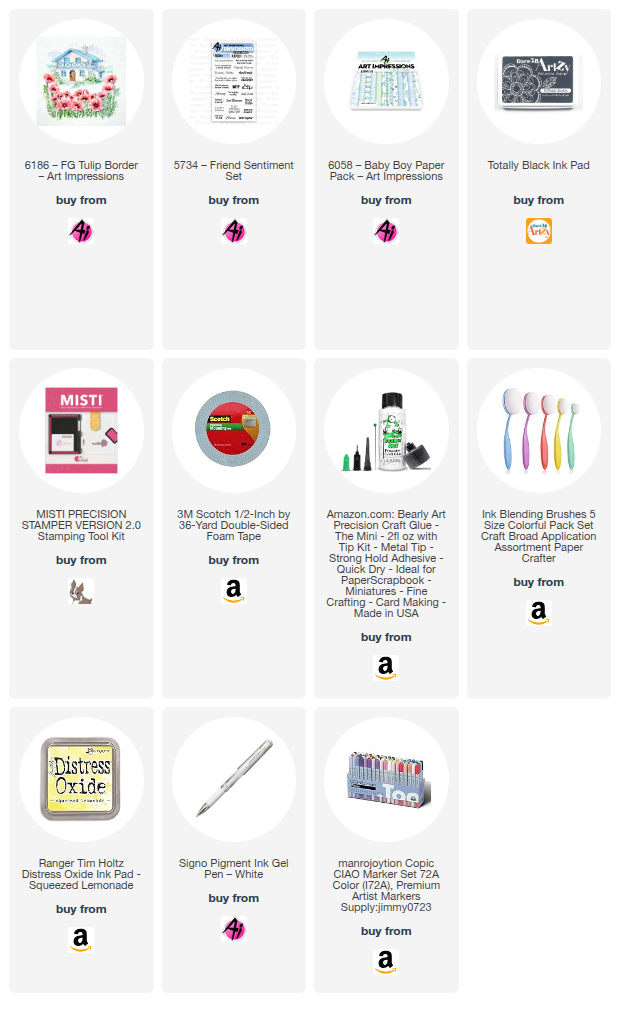
Tasha here sharing a new card created with the pretty 6186-FG Tulip Border Stamp Set from Art Impressions. I love tulips and this clear stamp makes it so easy to add a boarder of tulips to any card or project.

I started by stamped the tulips before using a scalloped rectangle die to cut the center card. After, I colored the images with Copic Markers and blended yellow ink around the boarder to bring in more color. The purple and yellow colors look fantastic together!

The stamp set includes a sentiment, but I used a greeting from the 5734-Friend Sentiment Set. I like the playful font style and it fit perfectly in the center. To add a little extra detail, I added two little bee embellishments to two ends. 

Lastly, I attached a purple scalloped layer to frame the center card before adding a piece of plaid pattern paper. I also attached silver glitter paper, purple card stock and tan card stock to complete the project.

I hope you enjoyed today's card and will be inspired to create a fun floral design. Also, be sure to check out the current Art Impressions challenge!


Friday, May 23, 2025

Par-fect Father’s Day Card!

 Hi friends!

Tasha here sharing a fun new Father’s Day card inspired by the current Art Impressions Challenge.

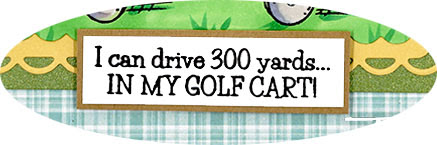
For this project, I used the Art Impressions 4902 -Par-Tee Golfers Set; one of my favorites for making golf-themed cards. This dad is all geared up for some time on the course, and I think it's such a fun and playful image for Father's Day.


I started by stamping the golfer with black hybrid ink and colored him in using alcohol markers. After coloring, I brought out the brand-new 6047-Scalloped Squares Dies to cut out the center image and frame. I’m a huge fan of square cards, so I was super excited to use this new nesting die set!


To pull everything together, I added a plaid patterned paper background and layered it with green, white, and tan cardstock. I kept the color palette masculine to coordinate with the shades I used on the golfer’s outfit and his golf cart; these colors give it a classic feel.


Thanks so much for stopping by to check out today’s card! I hope you’re feeling inspired to create something special for the dads in your life. 

Have a wonderful day!


Friday, May 16, 2025

Happy Birthday Grandma!

 Happy Friday, Art Impressions friends!

Tasha here sharing a fun birthday card inspired by the current Art Impressions challenge. For this card, I used the new 6024-Tea Time Set and 6039-Just For Her Set to create something sweet for a special grandmother.

I started by stamping the stacked tea cups and had a great time coloring them in with markers. I added different designs to each cup using shades of blue and green, and of course, some highlights with my favorite white gel pen; I love my gel pens! Once everything was colored, I used the coordinating die to cut the image out.

For the sentiment, I stamped “Happy Birthday” and “Grandma” with black ink onto white cardstock. To give it a little extra flair, I matted the greeting with gold glitter paper; because a little sparkle goes a long way!


To bring in more color, I added layers of blue and cream cardstock along with a piece of patterned paper from the Art Impressions 5939-Fairy Garden Paper Pack. I finished the design with a few white enamel dots before adhering the card to a white card base.

I hope you enjoyed today’s project and feel inspired to join in the challenge. Thanks so much for stopping by, and have a crafty weekend!


Friday, May 9, 2025

Happy Mother's Day!

Happy Friday!

Tasha here, and I’m excited to share a sweet Mother's Day card featuring two new Art Impressions sets: 6024–Tea Time and 6039–Just For Her! This card was inspired by the Art Impressions “Show Mom She's Special!” Challenge and made with love for my amazing Mother-in-Law.

I started with a metallic pink base for a soft, elegant shine, and layered it with gorgeous floral paper from the new 6051–Mother’s Day Paper Pack—I just love how fresh and pretty the prints are!

The centerpiece of the card is the adorable tea set, which I stamped, colored with pink-toned Copic markers, and then die-cut using the matching dies. I added dimension with foam tape and even drew in tiny pink flowers for a personal touch. A white gel pen helped brighten the details and highlight the flower centers.

To finish it off, I added the “Happy Mother’s Day” greeting and layered in some silver glitter paper—because a little sparkle goes a long way!

I hope this card inspires you to create something special and join us in the Show Mom She’s Special! Challenge. Wishing you all a creative weekend and a Happy Mother’s Day!


Tuesday, May 6, 2025

Congratulations 2025 Graduate!

Hi everyone and welcome back to my blog!

I'm so excited to share a new graduation card I created using some fabulous products from Dare 2B Artzy!

This card features a horizontal center step design—an interactive and dimensional base made easy with the Horizontal Center Step Die. I used the included layering dies to cut coordinating panels from some gorgeous D2BA patterned paper, which really sets the tone for a festive graduation celebration.
For the focal panel, I stamped the sentiment "For a Special Graduate" along with a classic graduation cap image from the Congrats Grad stamp set. I love how crisp and celebratory it looks right in the center!

To finish off the bottom panel, I used the Congrats Double Layered Word Die and adhered the die cut with foam tape for extra dimension—it really pops and I love the sparkle!

As a finishing touch, I added a few sunny yellow enamel dots and blended some Distress Oxide Ink around the center panel to tie the colors together and add depth.

Thanks for checking out my card and I hope you are inspired to create a fun center step graduation card!

Tasha

Supply List: Dare 2B Artzy Shop

  • HORIZONTAL CENTER STEP DIE 
  • BEEHIVE PAPER PACK 
  • CONGRATS GRAD STAMP SET 
  • CONGRATS DOUBLE LAYERED WORD DIE 
  • FEELIN' GROOVY ENAMEL STICKERS 
  • TOTALLY BLACK INK PAD 
  • PARADISE (TEAL) INK PAD


Friday, May 2, 2025

Welcome Baby!

Hi everyone!
Tasha here, and I’m bear-y excited to share my latest card creation inspired by the current Art Impressions "Un-Bear-ably Cute" Challenge! Today, I’m playing with the absolutely adorable new 6017–Baby Panda Set, and love these little panda stamps!

As a huge fan of panda bears, I couldn’t wait to get started. I began by stamping the sweet baby panda and the stack of gifts using black hybrid ink. After that, I brought them to life with my Copic Markers and white gel pens. Using the coordinating dies (included in the set—yay!), I cut out the images so I could pop them up with foam tape for a little extra dimension.

For the background, I wanted to create a cozy little room scene; something that feels like a warm home. I designed plaid-patterned walls and a wooden floor, imagining the baby panda sitting comfortably indoors, patiently waiting to open all those presents!

Once my cozy background was ready, I layered the panda and gifts onto the card using foam tape to give them that fun, popped-up look. For the base, I used silver glitter paper cut with the 5063–Rectangle A2 Double Stitched Dies to add a little sparkle. To bring it all together, I layered white and metallic purple cardstock, plus a panel of purple polka-dot Ai pattern paper that matched perfectly with the panda’s accessories.

To finish off the design, I added one of the sweet sentiments from the set—"We can Bear-ly wait to meet you" stamped in black on crisp white cardstock. I matted the sentiment with metallic purple paper for a polished look that ties everything together.

Thanks so much for stopping by and I hope you will join in the challenge! 


Friday, May 10, 2024

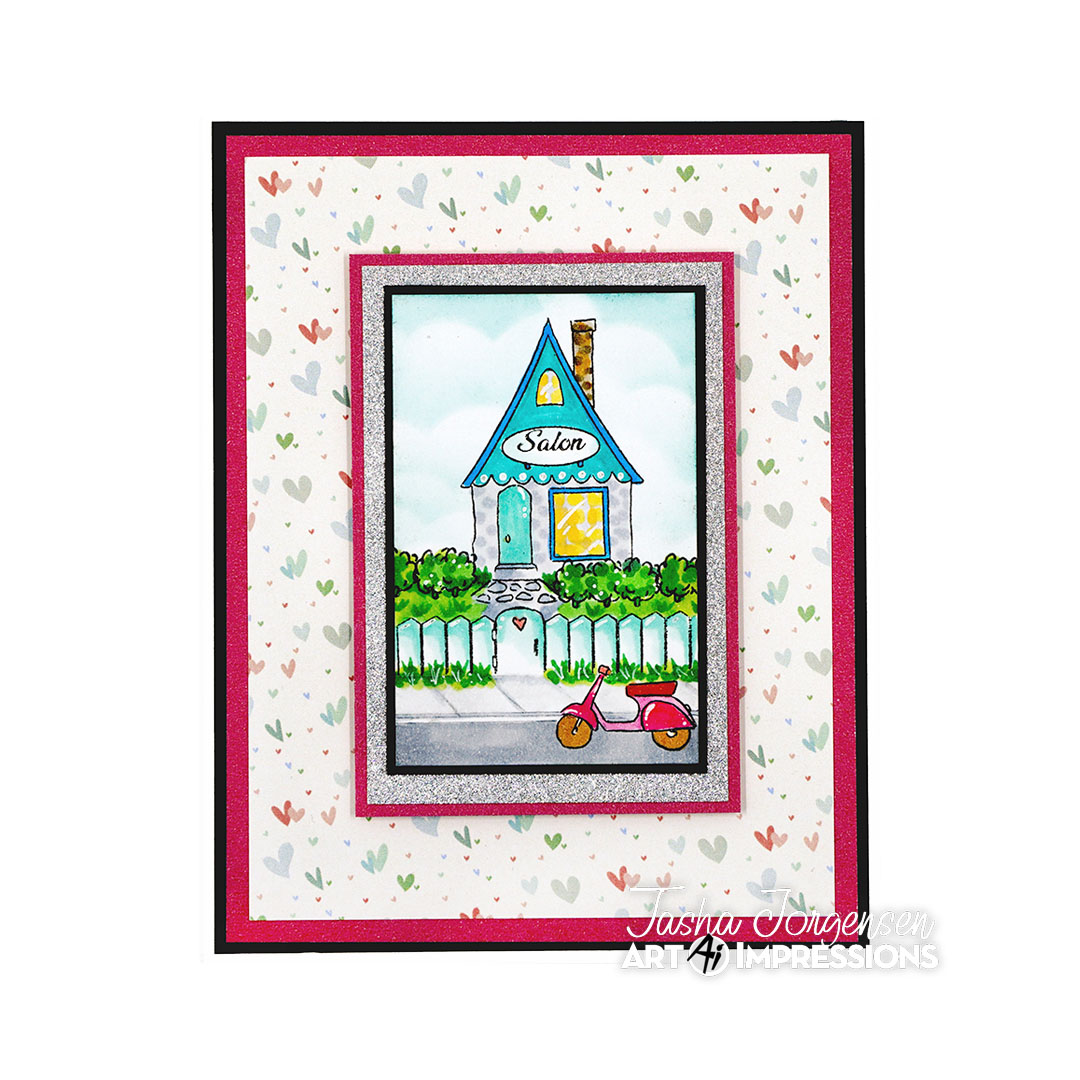
Salon Time!

 Happy Friday Friends!

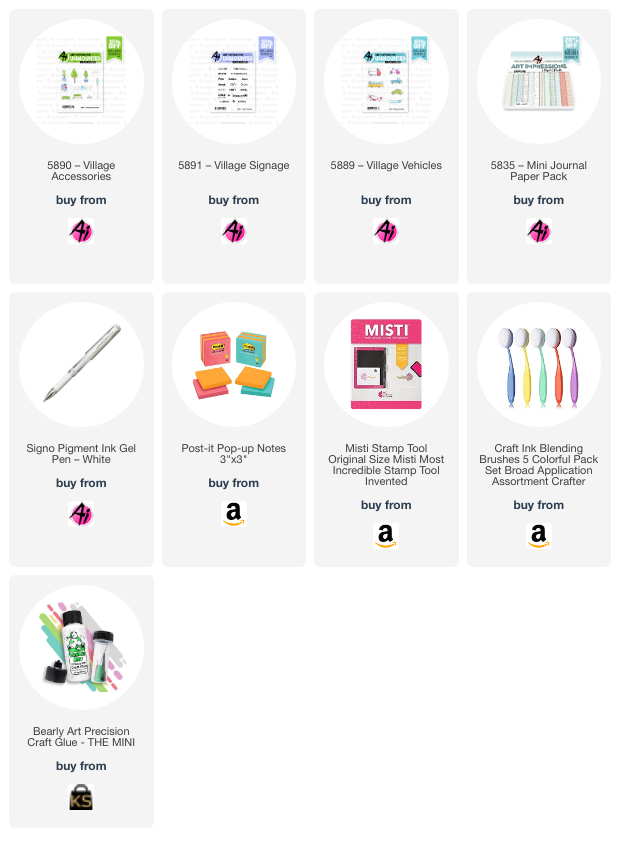
Tasha here sharing a card created with the new Village Sets and super cute Exclusive Candy Shop stamp from Art Impressions. I was so excited that the new exclusive stamps were little buildings and are small enough to fit into mini albums, planners, journals, cards, tags, and scrapbooks; perfect size!

(*The Exclusive Candy Shop stamp is a freebie when you spend $30 at the Art Impressions online shop.)

I started by stamping the Candy Shop image and added the word "Salon" to the sign. It's great that the sign is blank, so you can stamp/write anything you want to customize it. To add the other details, I used masking paper to block off areas before stamping the bushes, fence, pathway, and scooter. This masking process does take some time, but I just love the way all these stamps work together!


After all the stamping was done, I added blue fluffy clouds to the sky and colored the rest of the card with markers. I also used a white gel pen to add in little accents. 

To complete the card, I attached silver glitter paper, pink and black card stock, and a piece of fun heart pattern paper. This design turned out so cute and look forward to making more projects with these little stamps!

I hope you enjoyed today's card and are having a wonderful day!